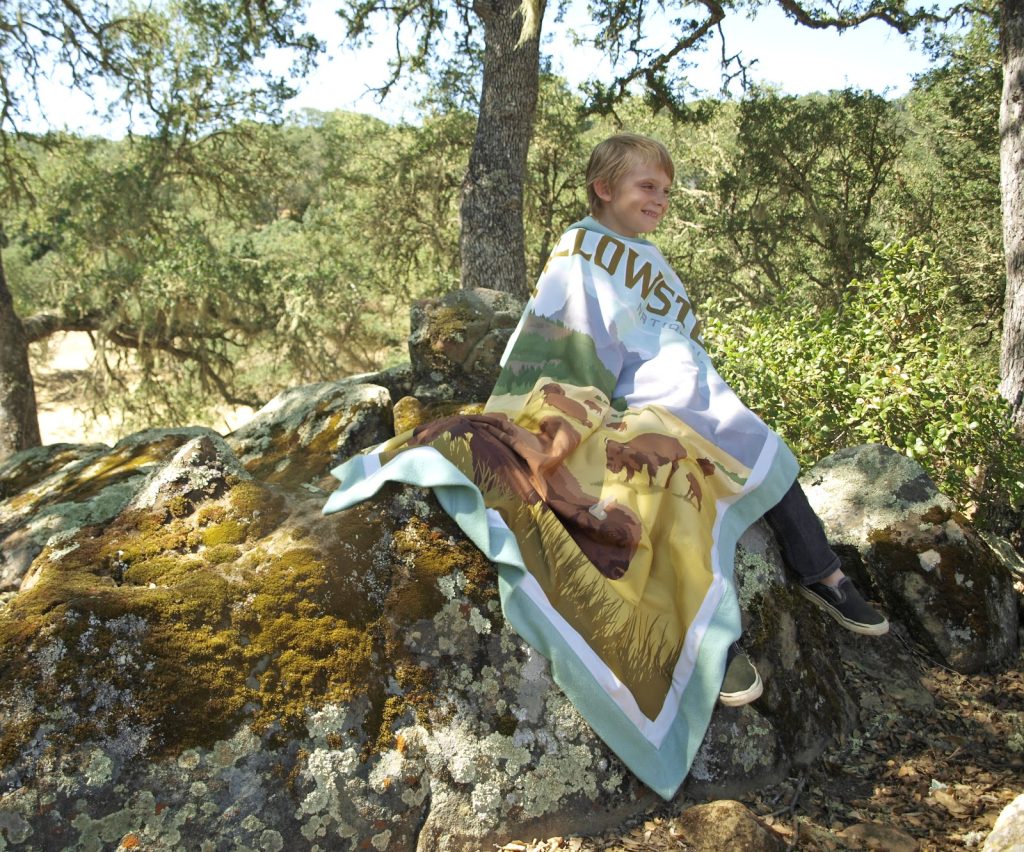
Living on the West Coast of California we get to explore some of the countries most beautiful National Parks. Each unique and stunning in their own way. Like those parks, we know this new collection from Riley Blake will help create lasting summer memories. While the heatwave of 2019 scorches, we are staying low and cool indoors making a simple, self binding blanket today. Once it’s safe to head outside we plan to take our new blankets on new adventures. To get started it’s best to prewash your fabrics. Increase the longevity of your fabrics by hand washing, or agitate on a gentle cycle in cold water with like colors using a fragrance free, non-chlorinated detergent. Dry your fabric on a low/medium cycle or line-dry.
Self Binding Blanket Fabric Requirements: 1 yard of 44” wide fabric or a 36” x 44” panel
1 ⅓ yard of wide width or backing fabric measuring 46” x 54”
We used a Panel we stocked when we made this post originally but any of the Charley Harper Panels we have now will look great
We backed it with Birch Organic, Fleece and used the sweatshirt side of the fleece for ultimate soft feels.
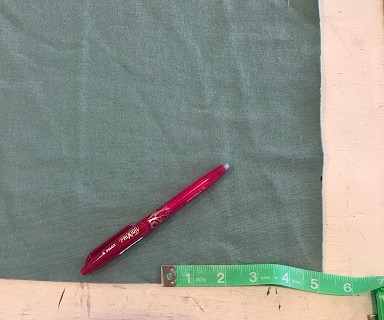
Sewing Tools to Complete Your project: Scissors, ruler, marking pen, pins, basic machine sewing, & 1/2” seam allowance suggested.
We used a walking foot attachment to make this blanket.
Let’s begin!
Trim your panel to 36” x 44” and cut your backing fabric down to measure just 5” inches over each side, so 46” x 54”.
On your backing fabric, mark 5” inches out from each corner. Mark out the line from each 5” mark and cut it on each corner.
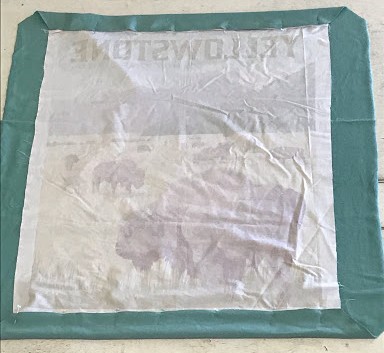
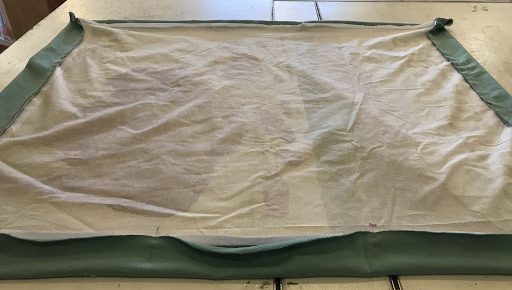
Place your fabric right sides together and center.
Pin your top and bottom edges, leaving 5” inches over on each side edge.
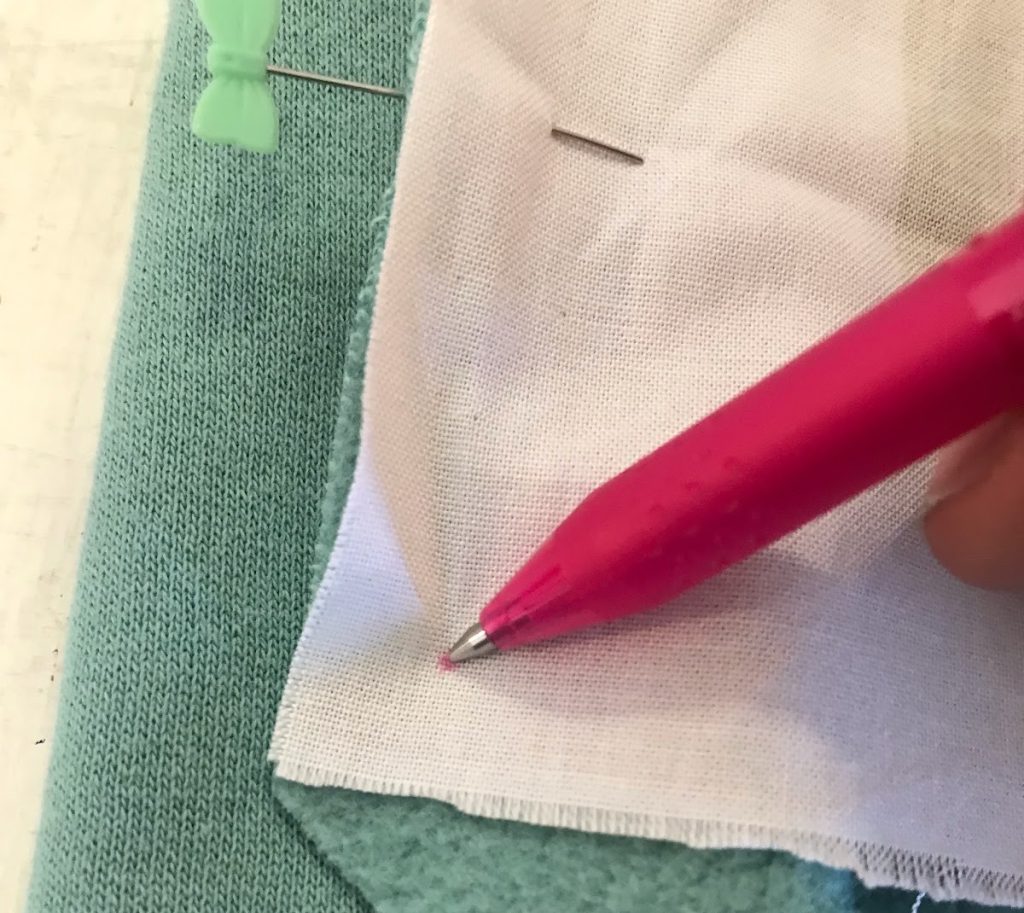
Using a ruler and marking pen, mark a dot ½” in at all four corners
Sew the top and bottom edges together, starting and stopping at the marks you made. Sew slowly to avoid stretching the fleece, and use extra pins if necessary.
Pin your sides and leave an 8″ inch opening on one side to turn blanket.
Sew the top and bottom edges together, starting and stopping at the marks you made. These should start and end at the same marking points at the top and bottom seams.
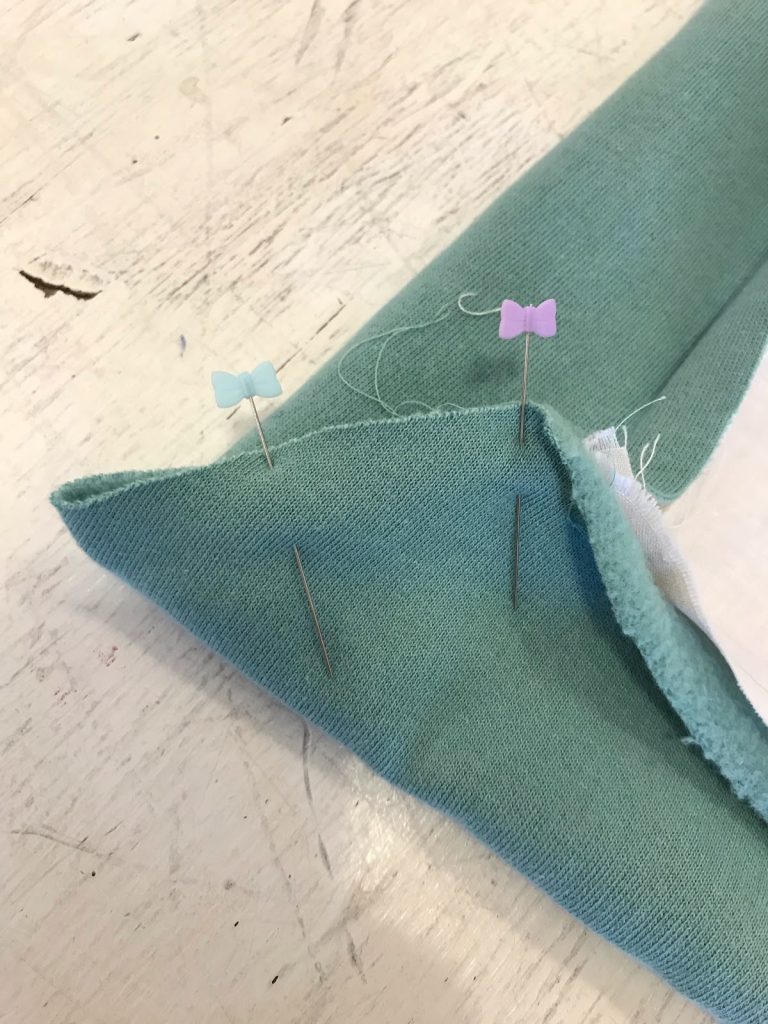
Starting in one corner, pin the fleece corner starting at the marking point, and ending at the folded edge. Repeat pinning process in all corners.
Mark the ½” starting point on the folded edge of the backing and sew with a ½” seam allowance to the marking point. Repeat on all corners.
Trim corners at 90 degree angle
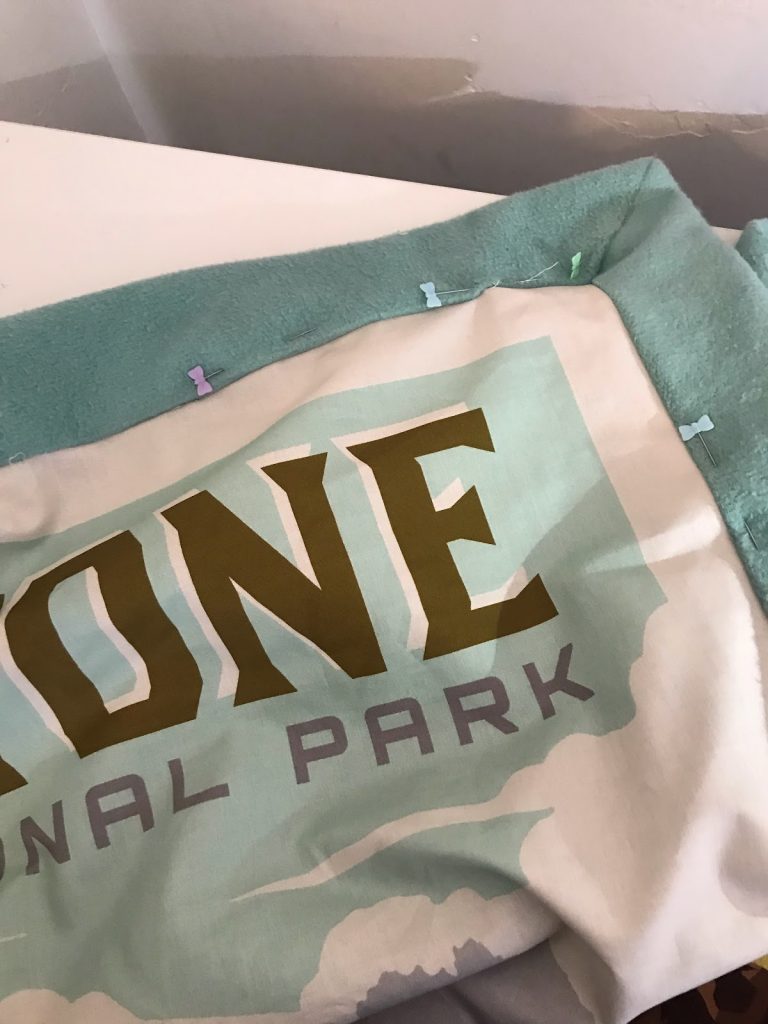
Iron seams towards fleece and turn blanket.
Pin seams to fleece and top stitch ¼” into the fleece, this will secure blanket and seams.